
A 3 Step Formula for Getting the Ceramic Results You Want.
Would you like to know EXACTLY how to get a specific result for your ceramic project? Read on, as I have the answer for you, no matter what it is you seek!
As I get more students and a larger Instagram audience, the rate at which I get asked “But how do you get THAT effect? (That finish? That glaze? Those Colours? Those spots?)” has become a daily occurrence. Helping people online and in person with their creative goals has become a strong part of my life's purpose; but I always hold back from a specific answer, as I feel that is not the one that matters.
What I think matters is that students (or curious clay lovers) have the means, the courage and the method to know what it takes to seek these answers out for themselves. That way you can go through the process to find results specific to your studio, and probably uncover much more along the way.
In this post I am going to break down the 3 Step formula for you to achieve the Ceramic Results you are looking for. I’m sure this will also help you to answer many more questions that will come up as you learn.
Down the Rabbit Hole
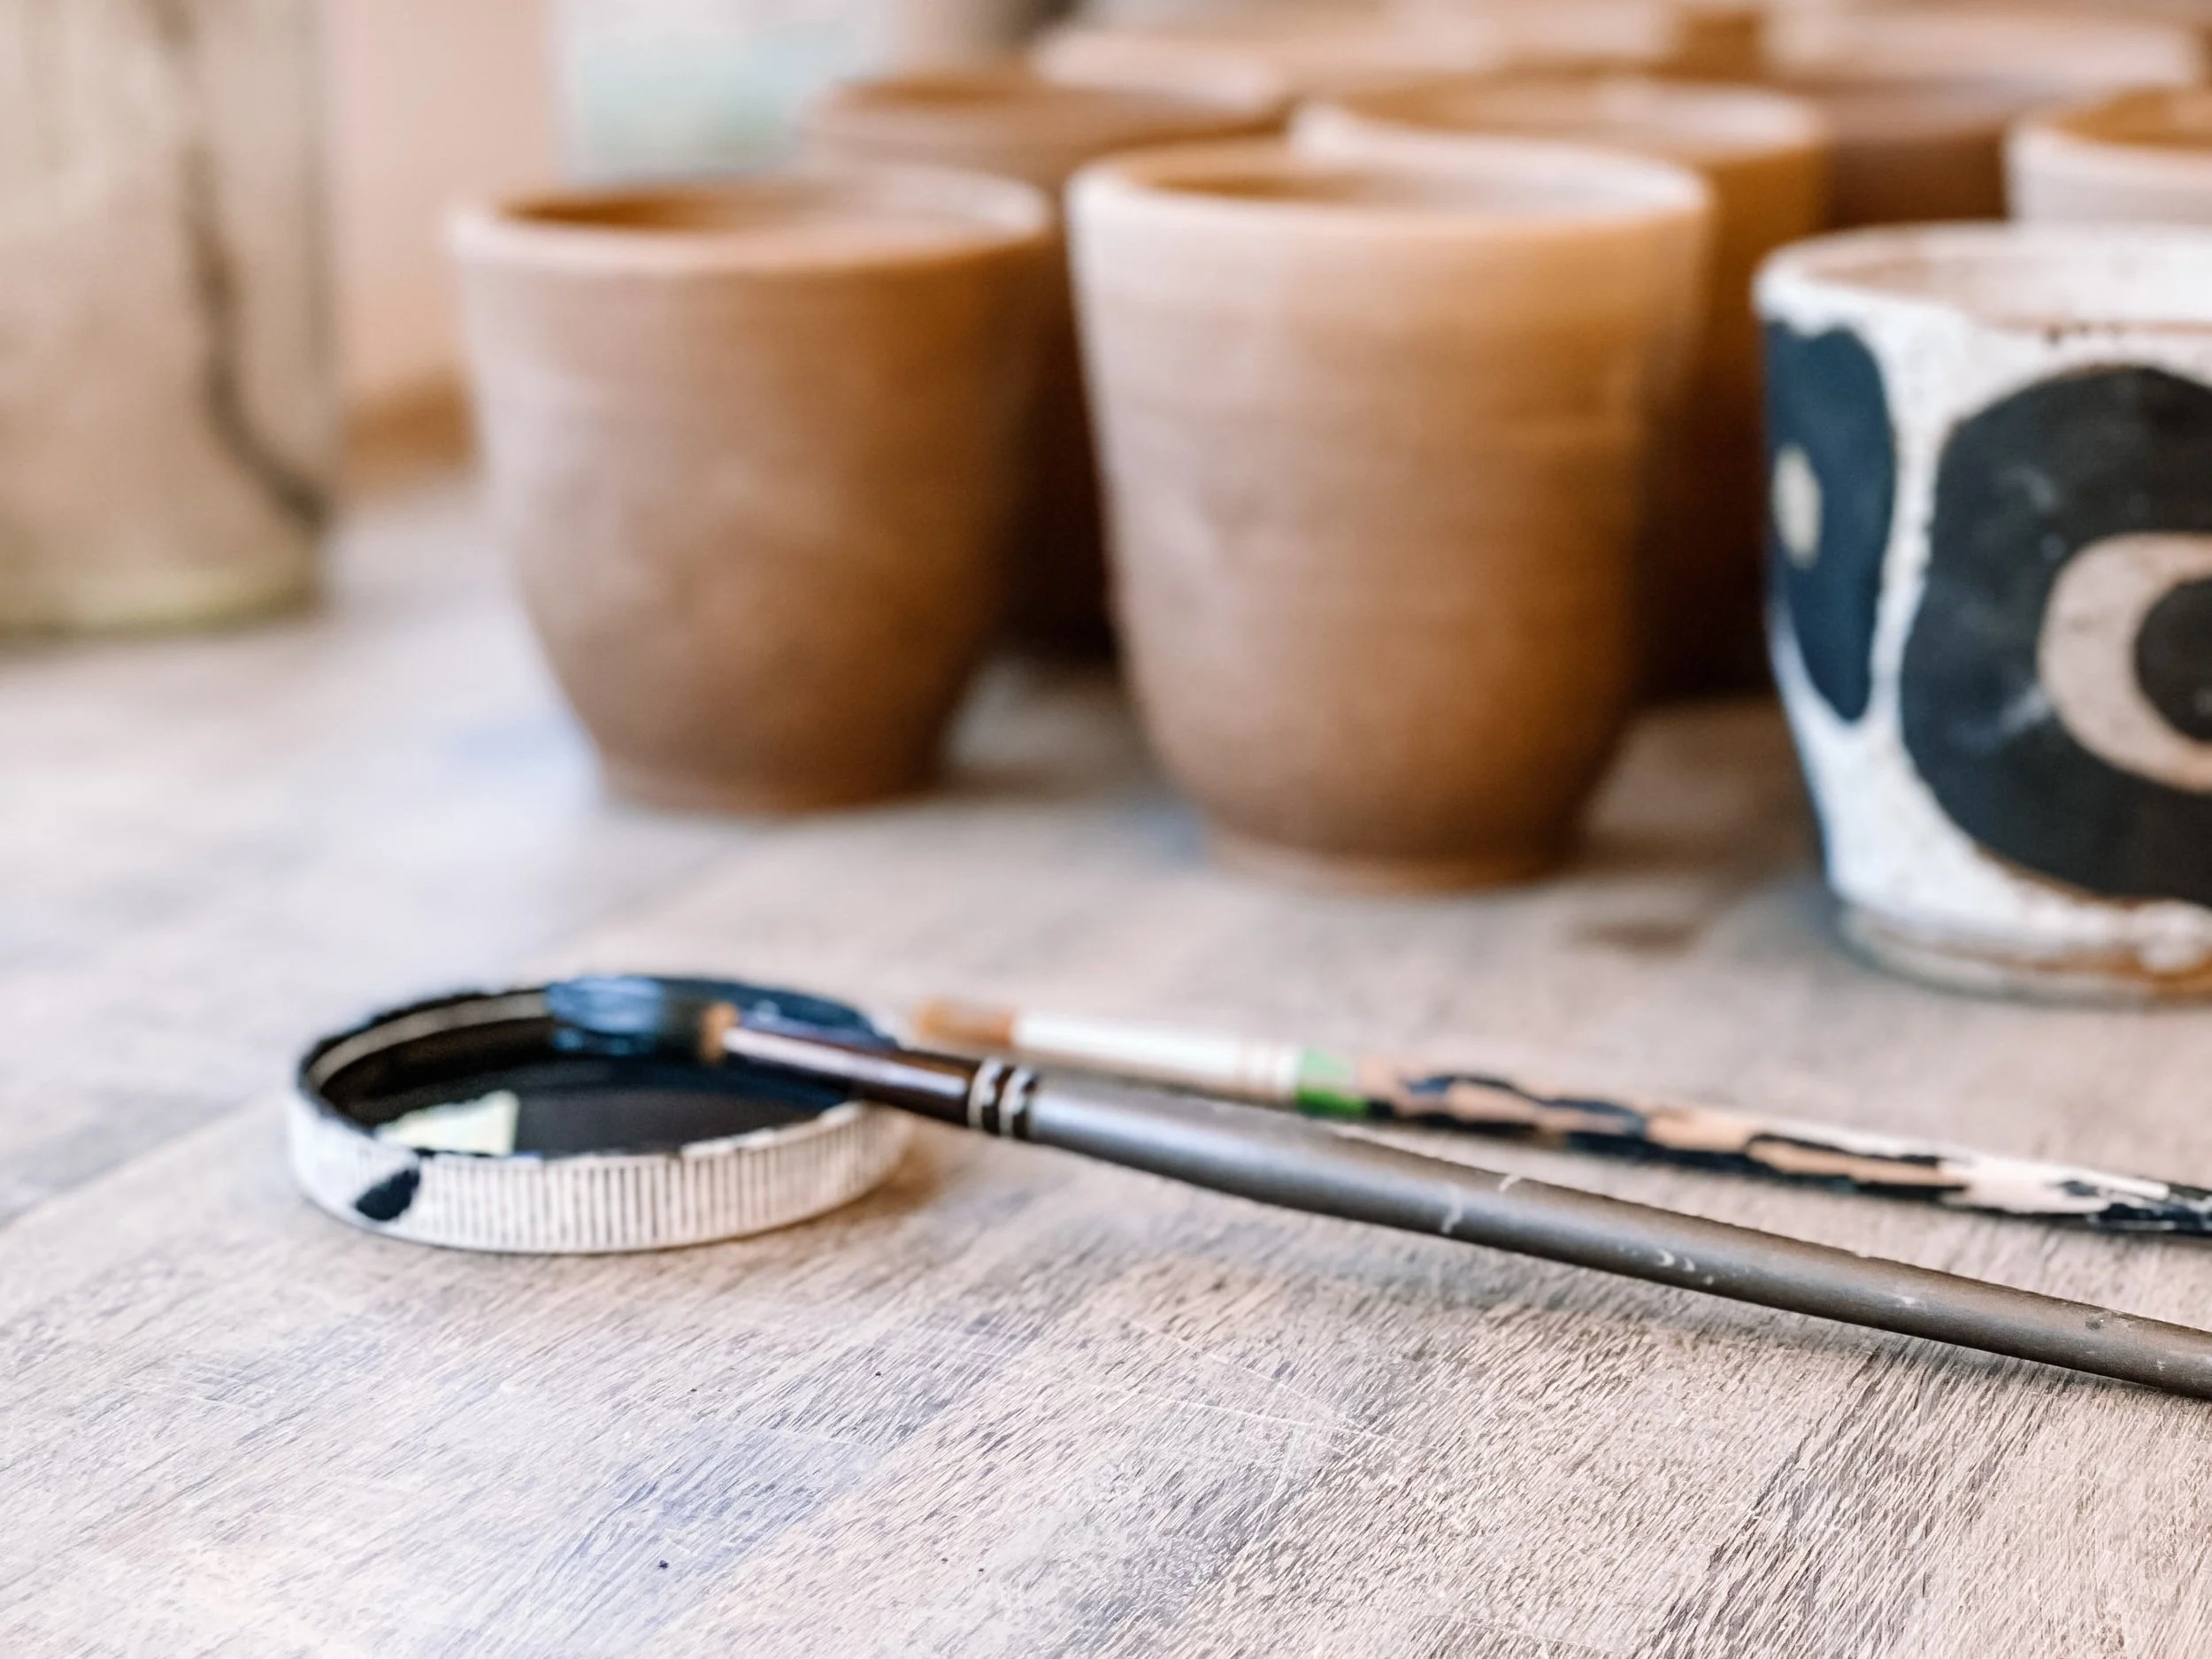
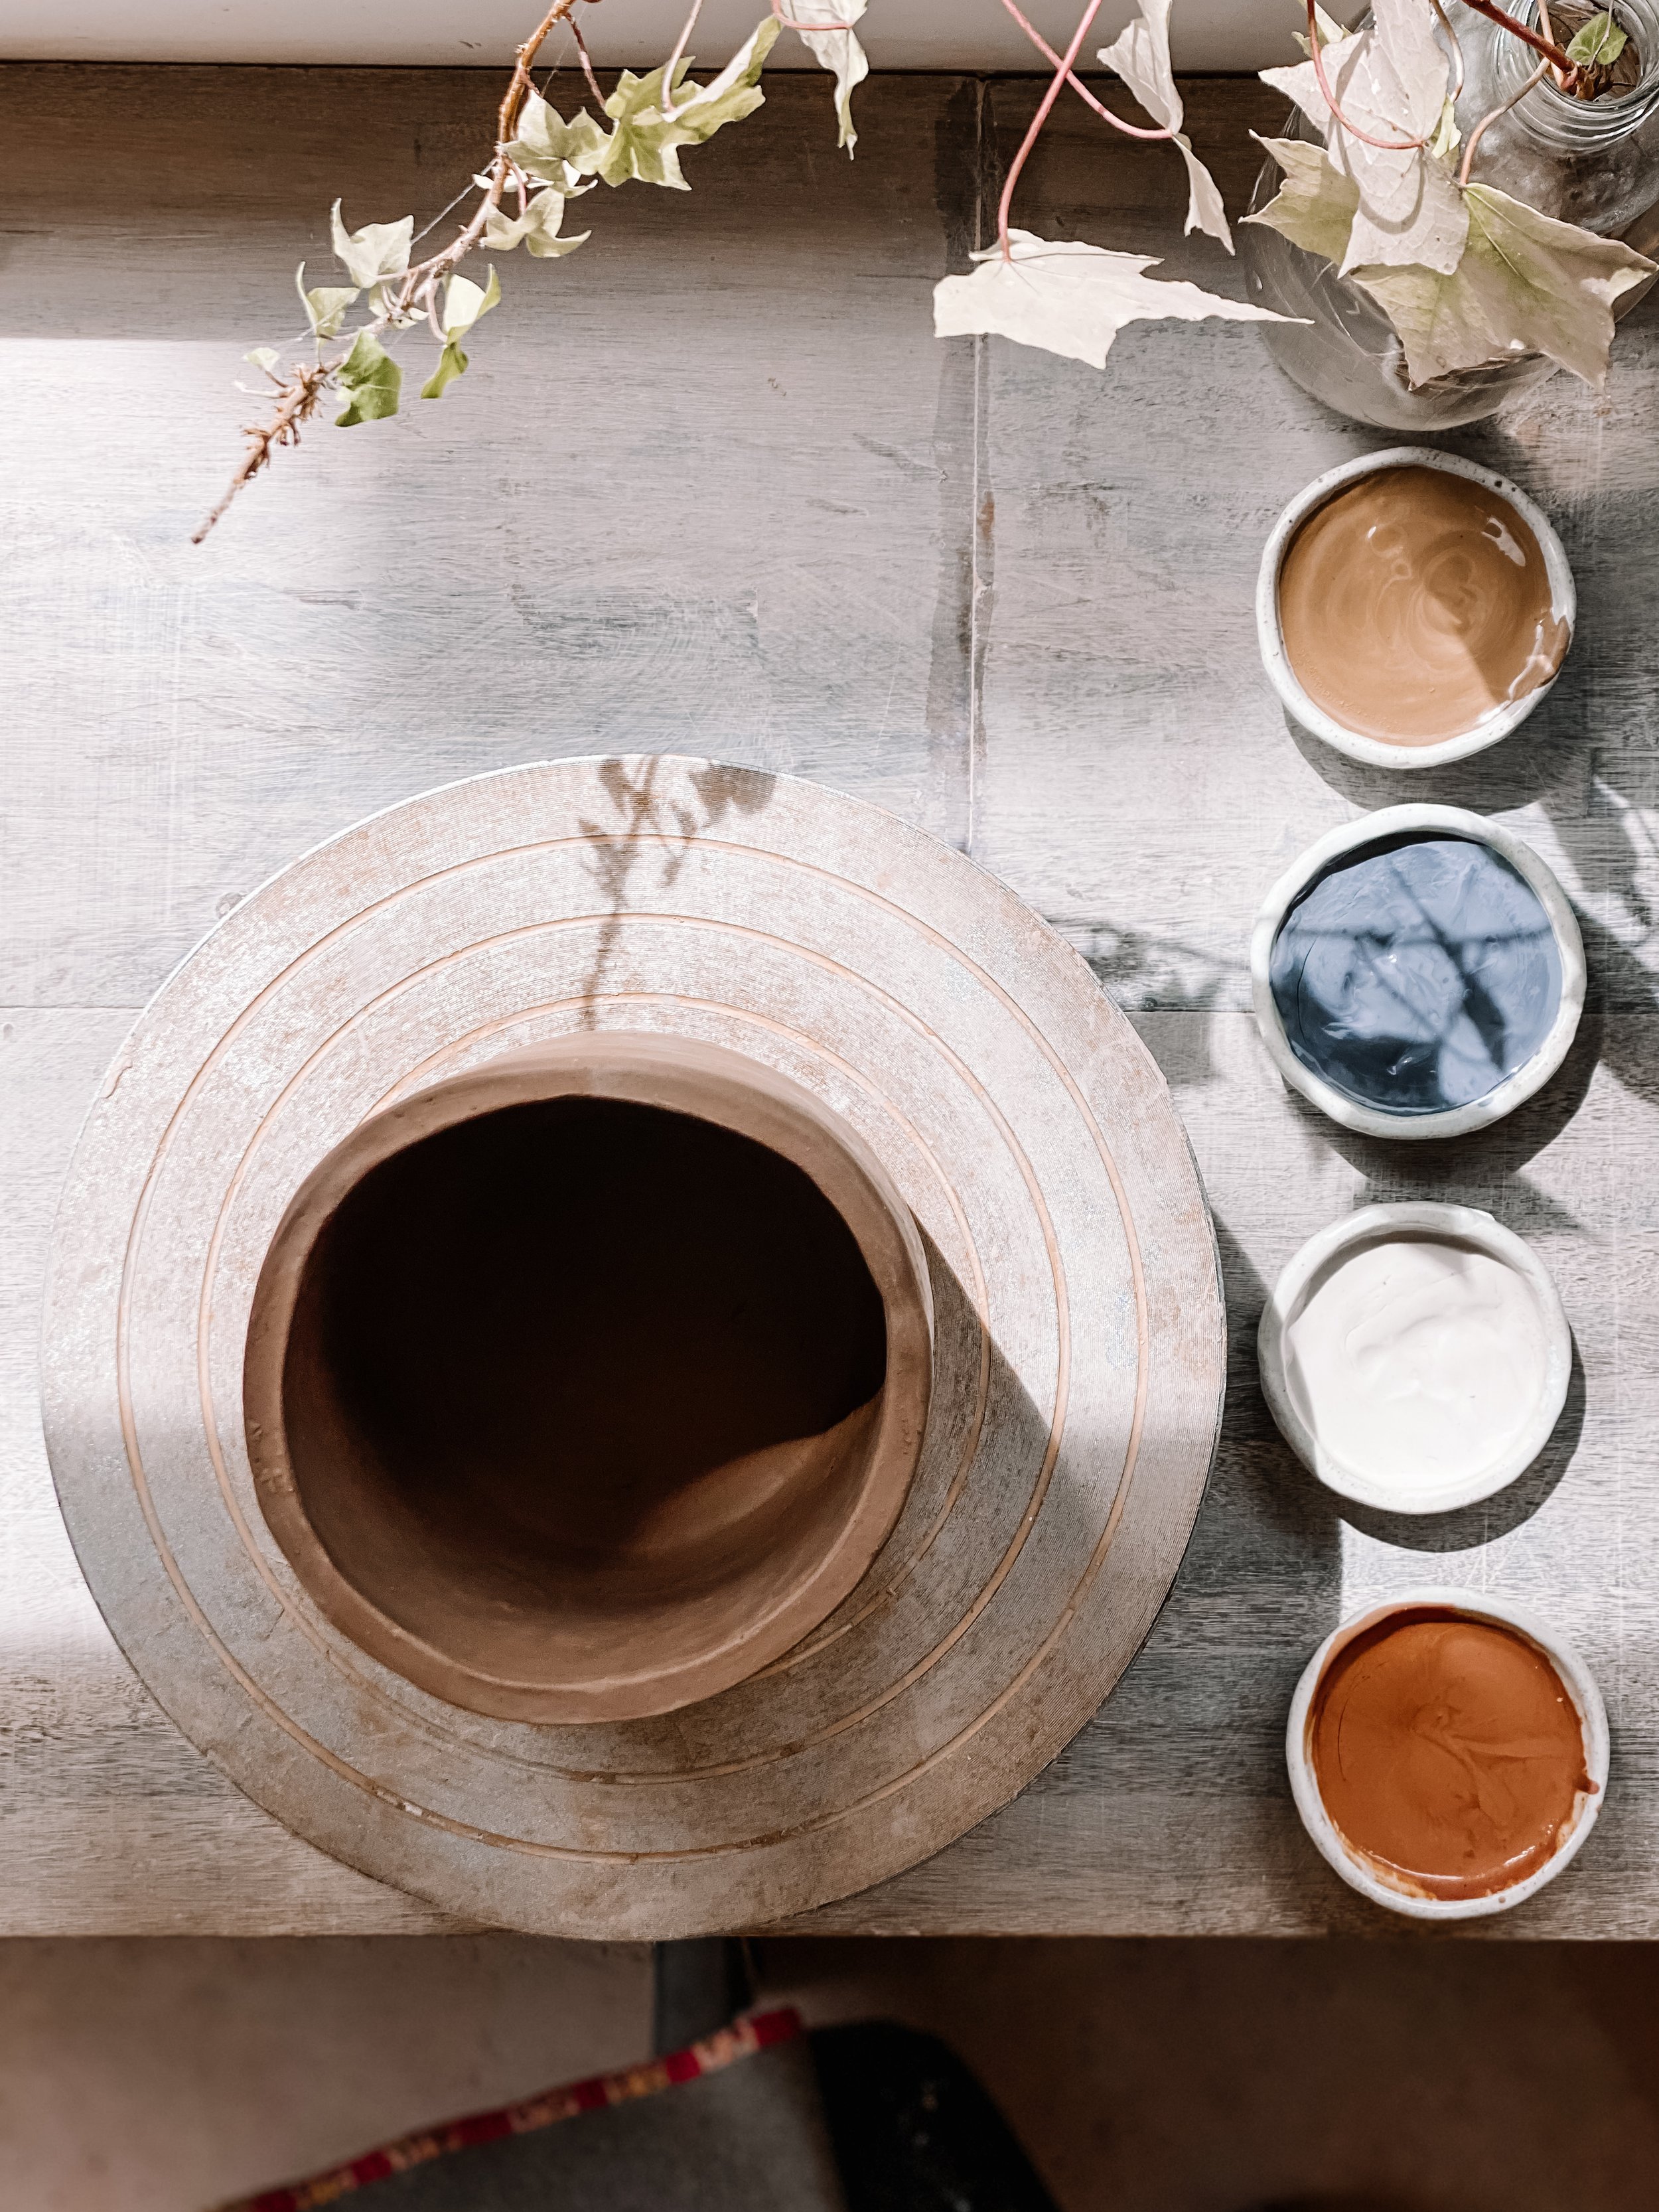
If you don’t know already, one of the best & hardest things about the craft of ceramics is that there are approximately 1 million choices & variables within each project. Many will radically change the outcome of your piece.
Clay choice, firing method, glaze application and design choice, just to name a few. I often think of myself as being down a rabbit hole, taking a path to explore for a while, then coming back up to start a new one. Each time I collate new variables that I am logging into an ever-growing matrix of results, to apply to future projects.
This can be daunting if you are just starting out, though dont worry, we have all been there! Here is my formula to get the result you are looking for.
EXPLORE - OBSERVE - RESPOND
EXPLORE
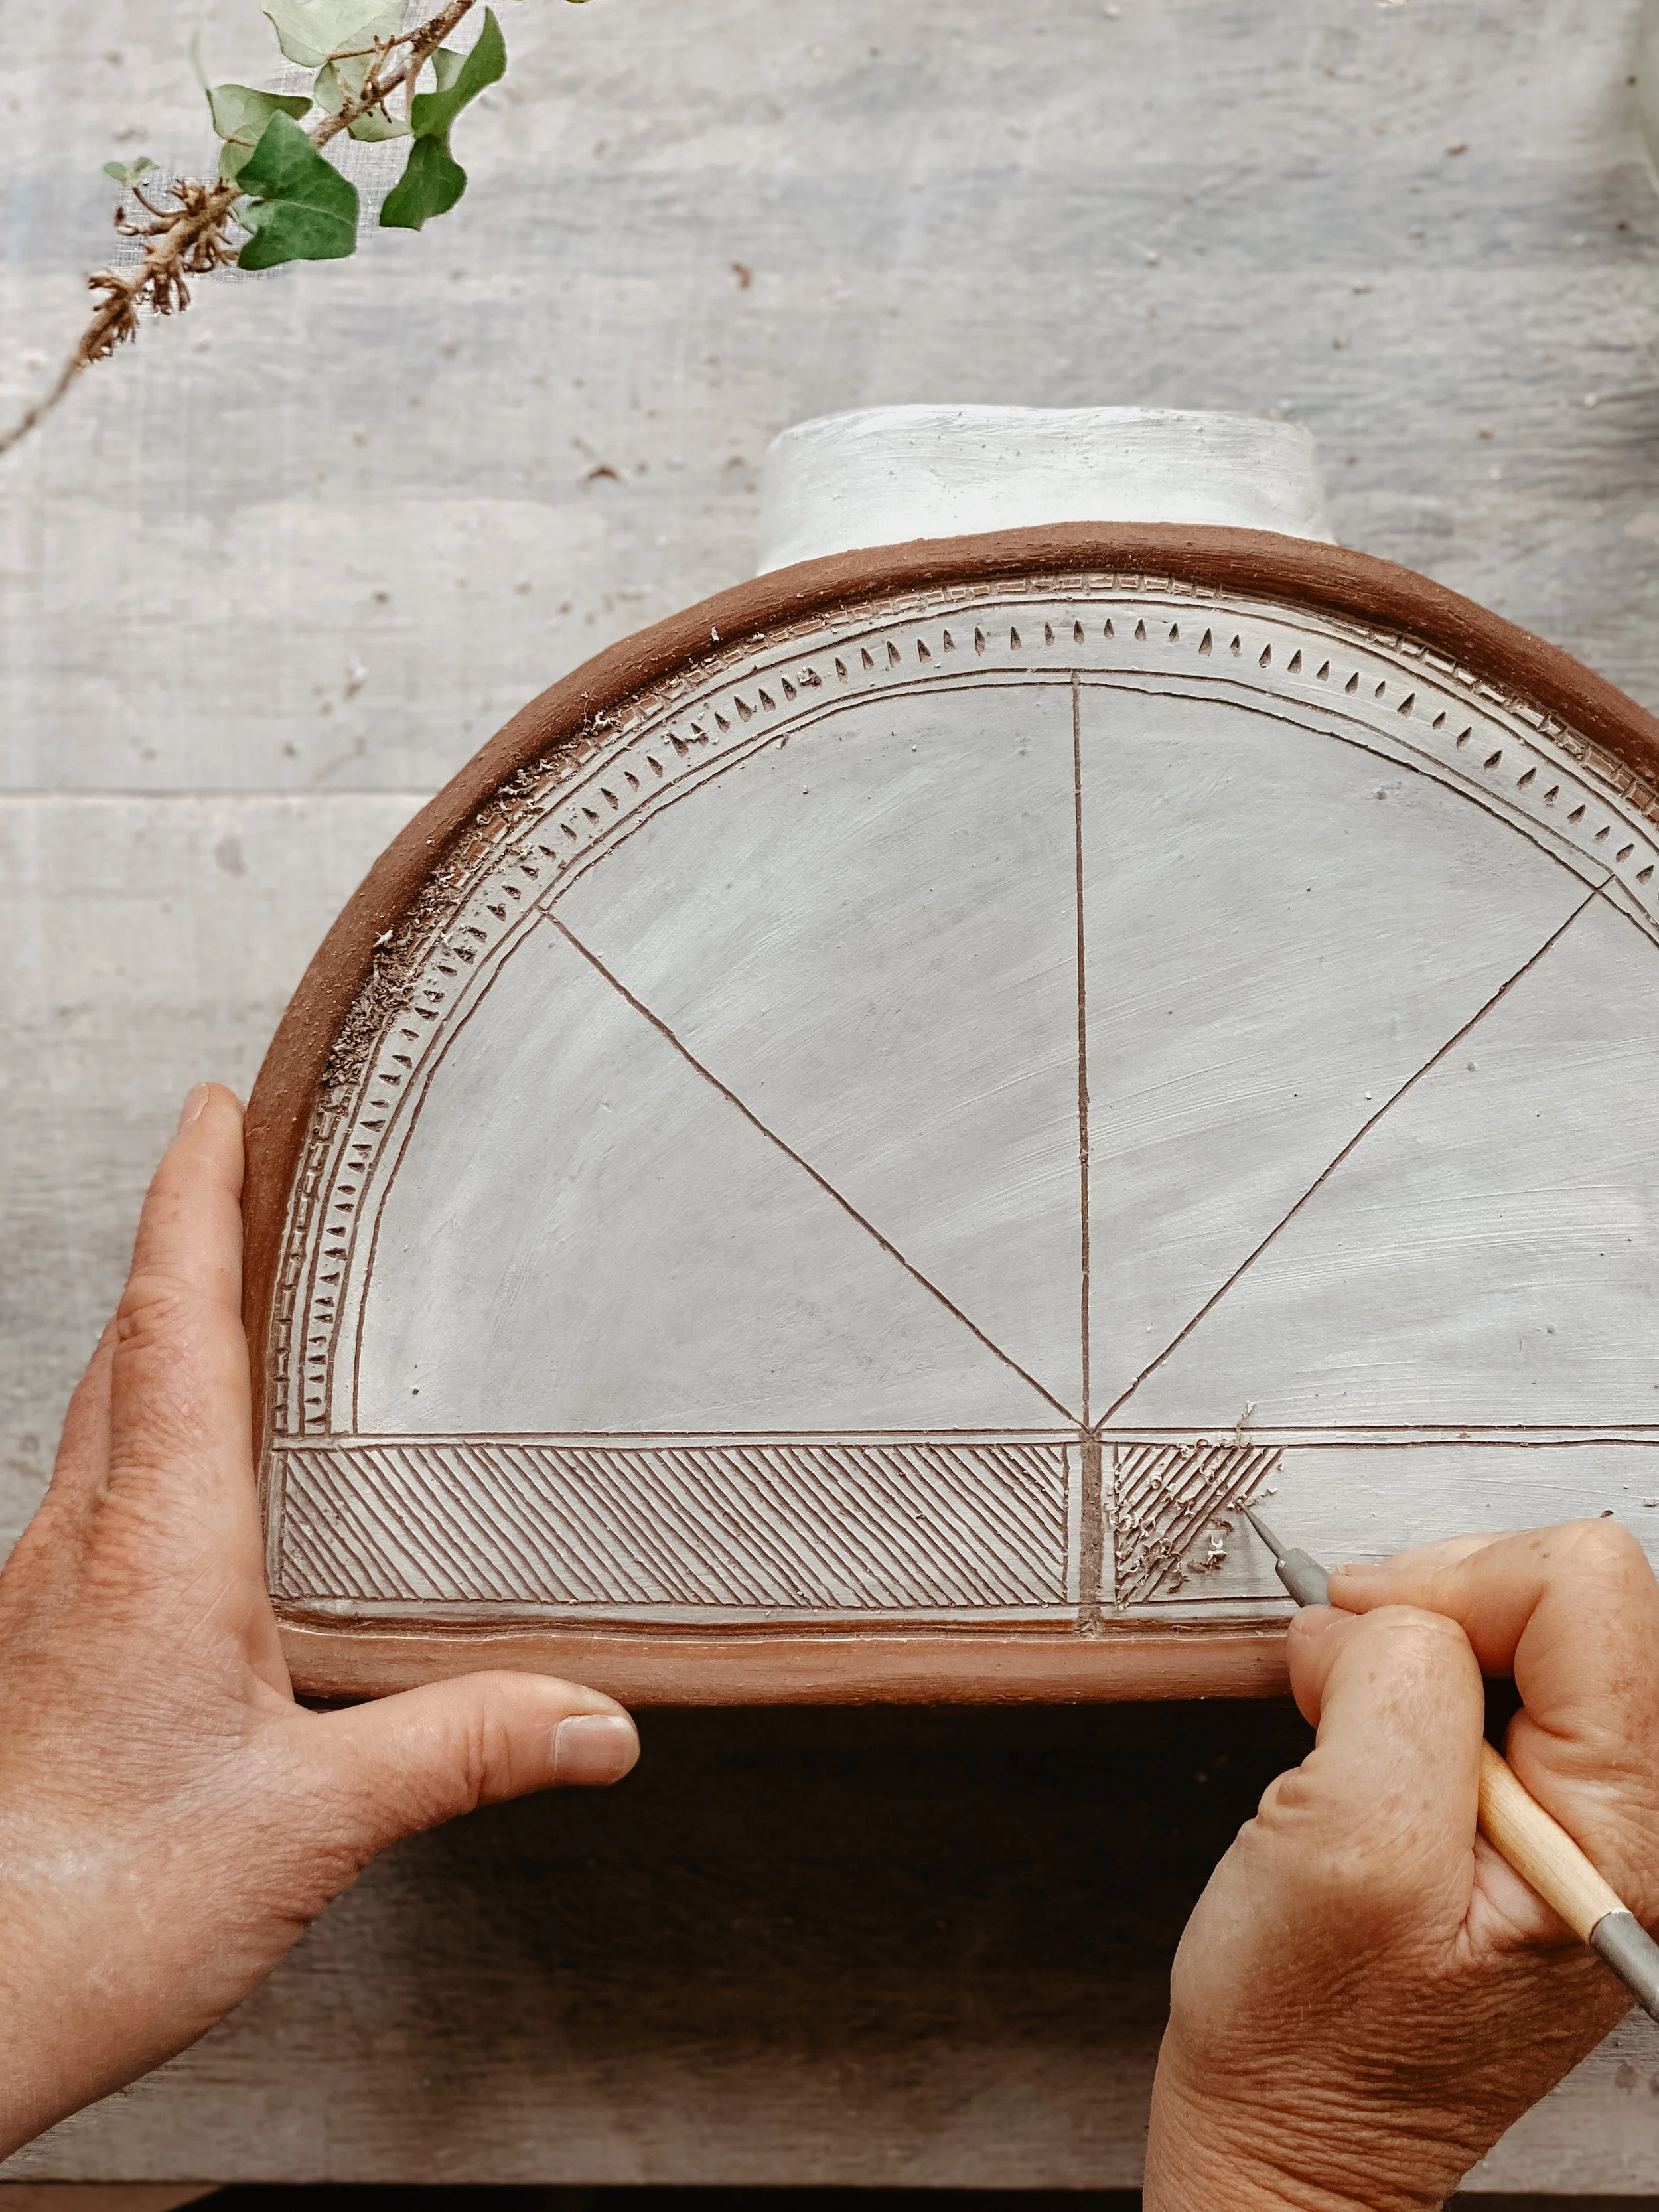
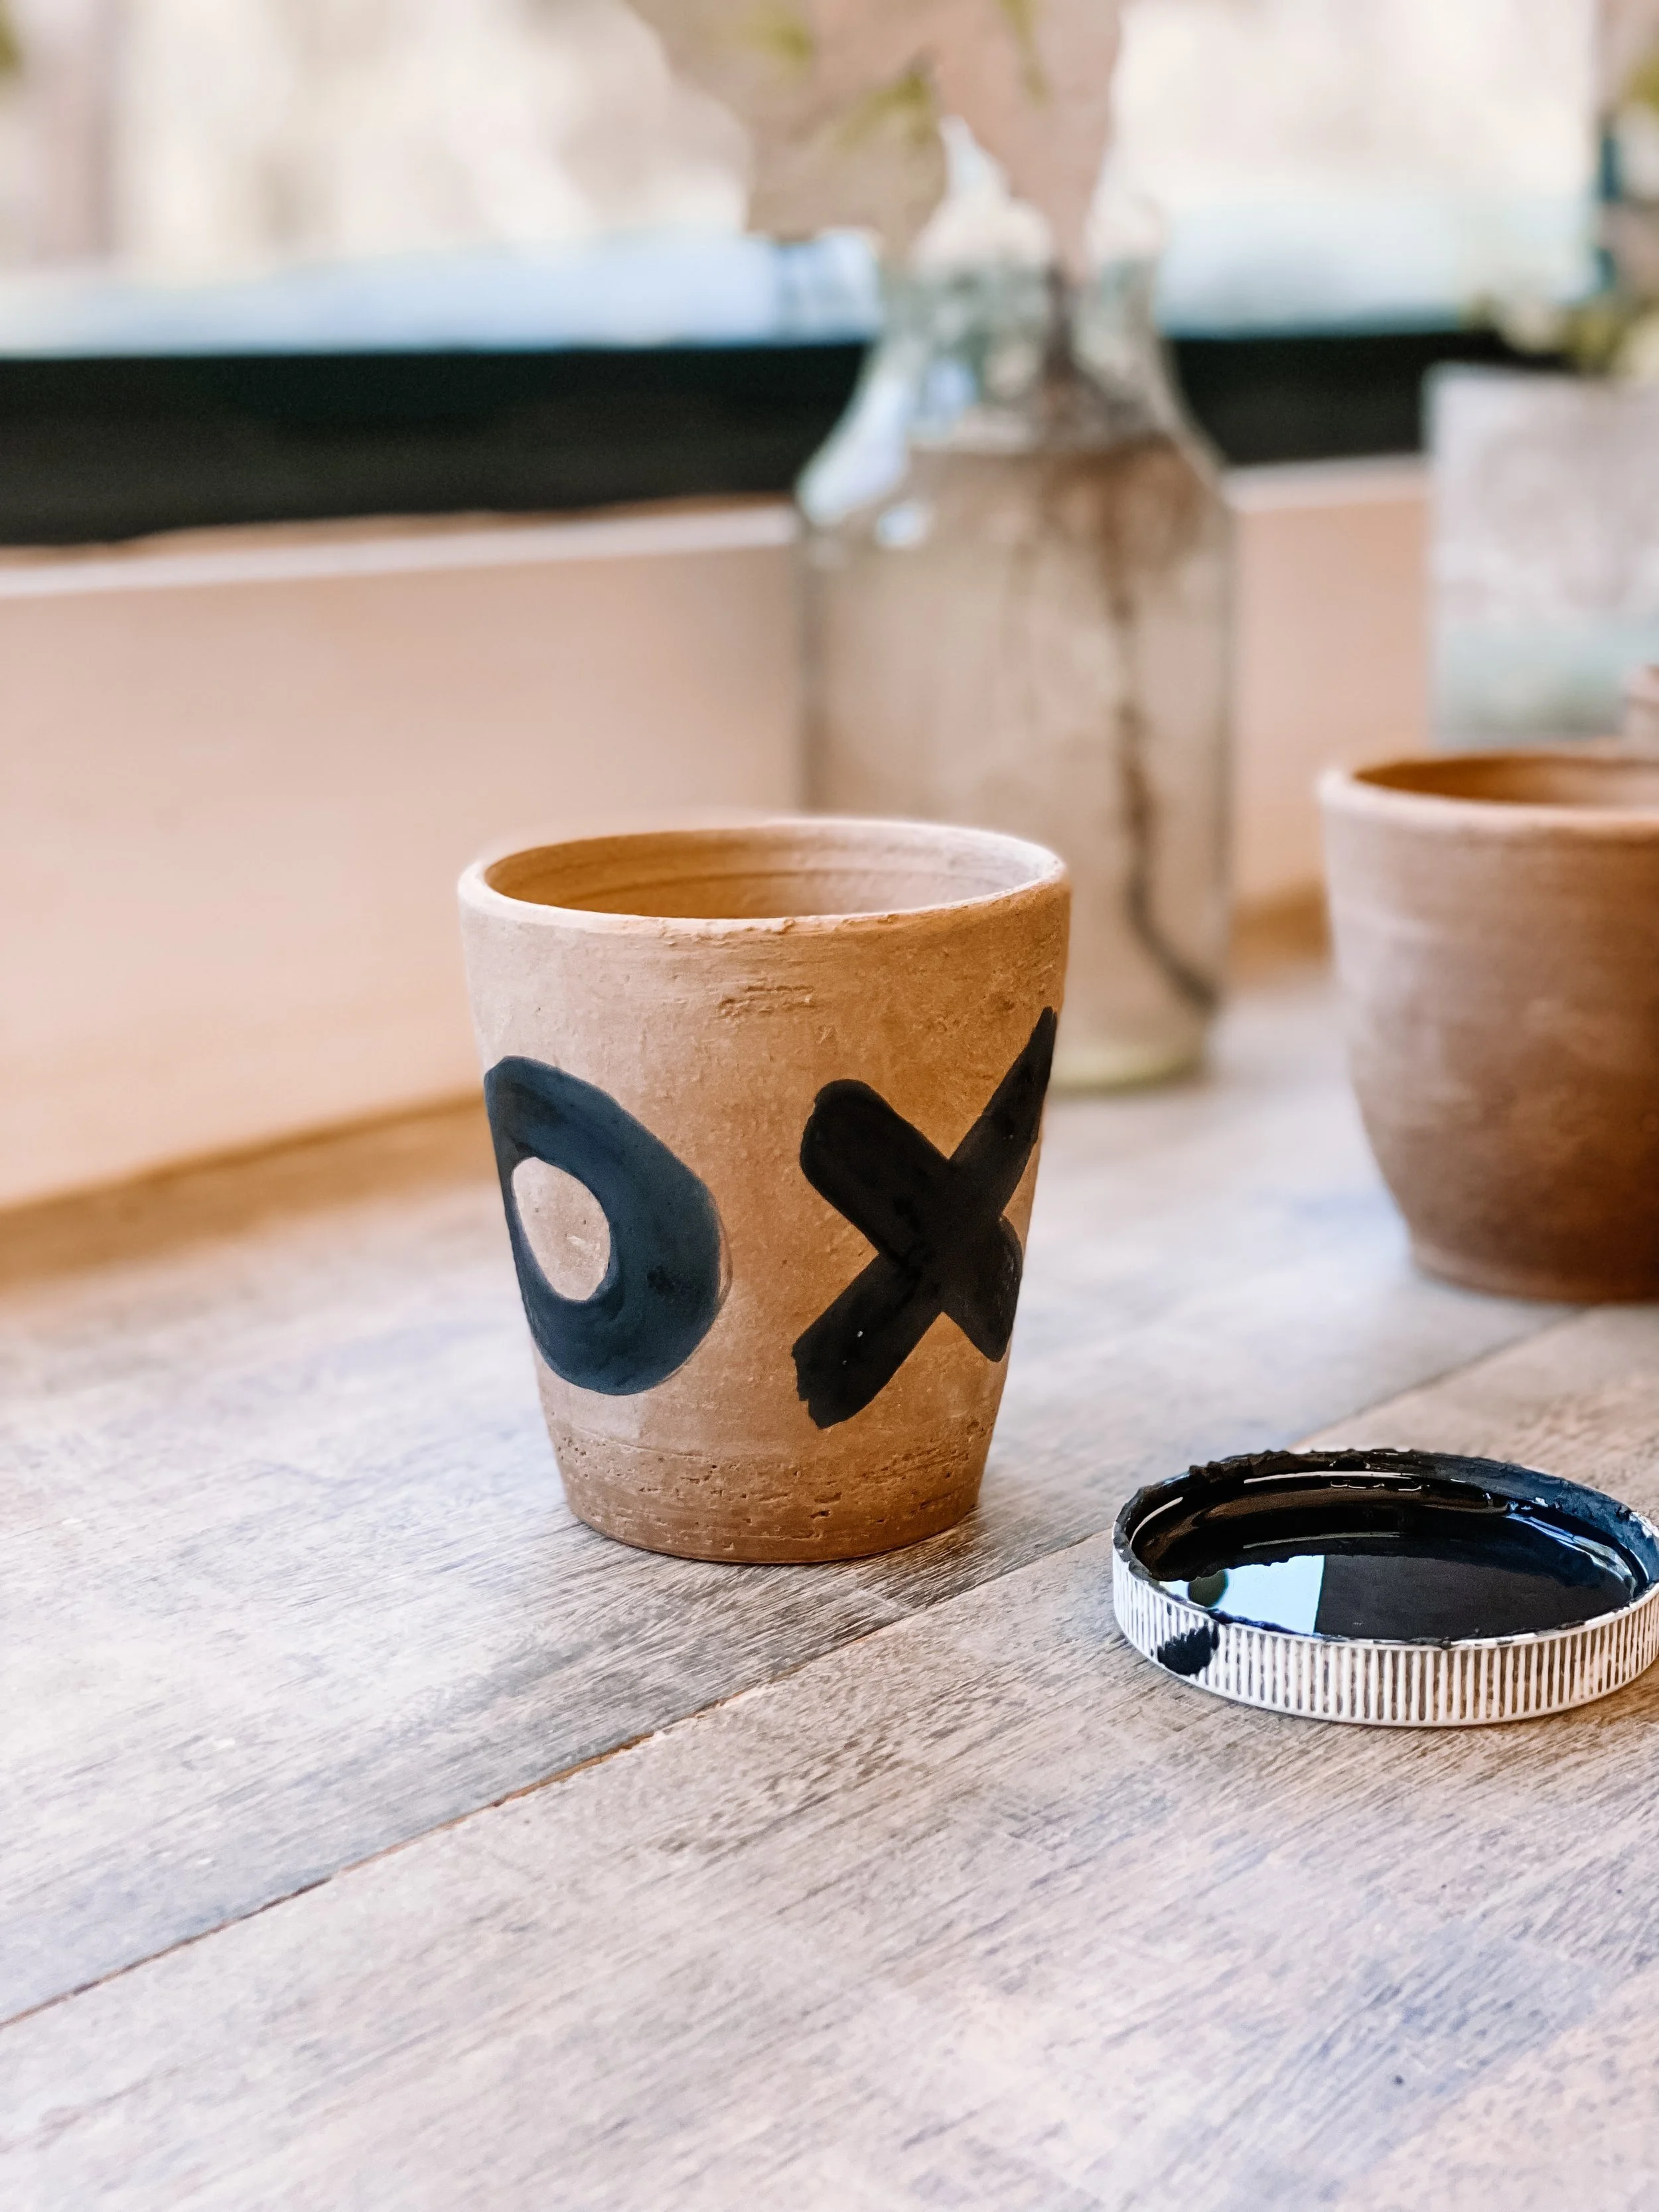
Start somewhere, and play. Test something out. Do the same glaze on 2 different clays. Mix up a new underglaze colour. See what happens when you fire on the top shelf instead of the bottom. Test your new tool on harder rather than softer clay….and so on. Continually ask yourself; What if?
If you are smarter than me you will document the choices you are making for better means of comparison, but even if you don't, you will probably retain most of the information.
OBSERVE
Most importantly, take your projects or your test tiles through the complete firing process and observe the results. If you did comparative A/B testing, this is a great opportunity to select a favourite, or at least know what you won't do again.
RESPOND
Now that you have made observations, you can consider other ways you might extend the idea or change for improved results. Could you add something to the clay? Do more layers of underglaze next time? Repeat a pattern that worked? Avoid a particular colour?
Responding to your observations will not only get you closer to the result you were chasing, but almost certainly provide some new and interesting leads for you to explore further.
A few Pro-Tips
I am really confident that this formula will be the key for you to have a rewarding Ceramic experience. Here are a few extra tips that I have found can further improve your experience;
Keep variables to a minimum as you start. There are so many key areas to explore in ceramics. I suggest picking 1 or 2 areas that most excite you first before adding in more and more (eg. Sgraffito & Hand Building, or Glaze making and Firing would be enough for me to focus on for quite some time.) There are so many choices within each key area, so you can explore just one of those without boredom for many years!
One underrated variable to explore is clay choice. Even if you kept every other variable the same, changing your clay can yield really interesting variations.
If you like the characteristics of one element, and others in another, try blending. This can work with many materials such as glaze, clay, underglaze and stains.
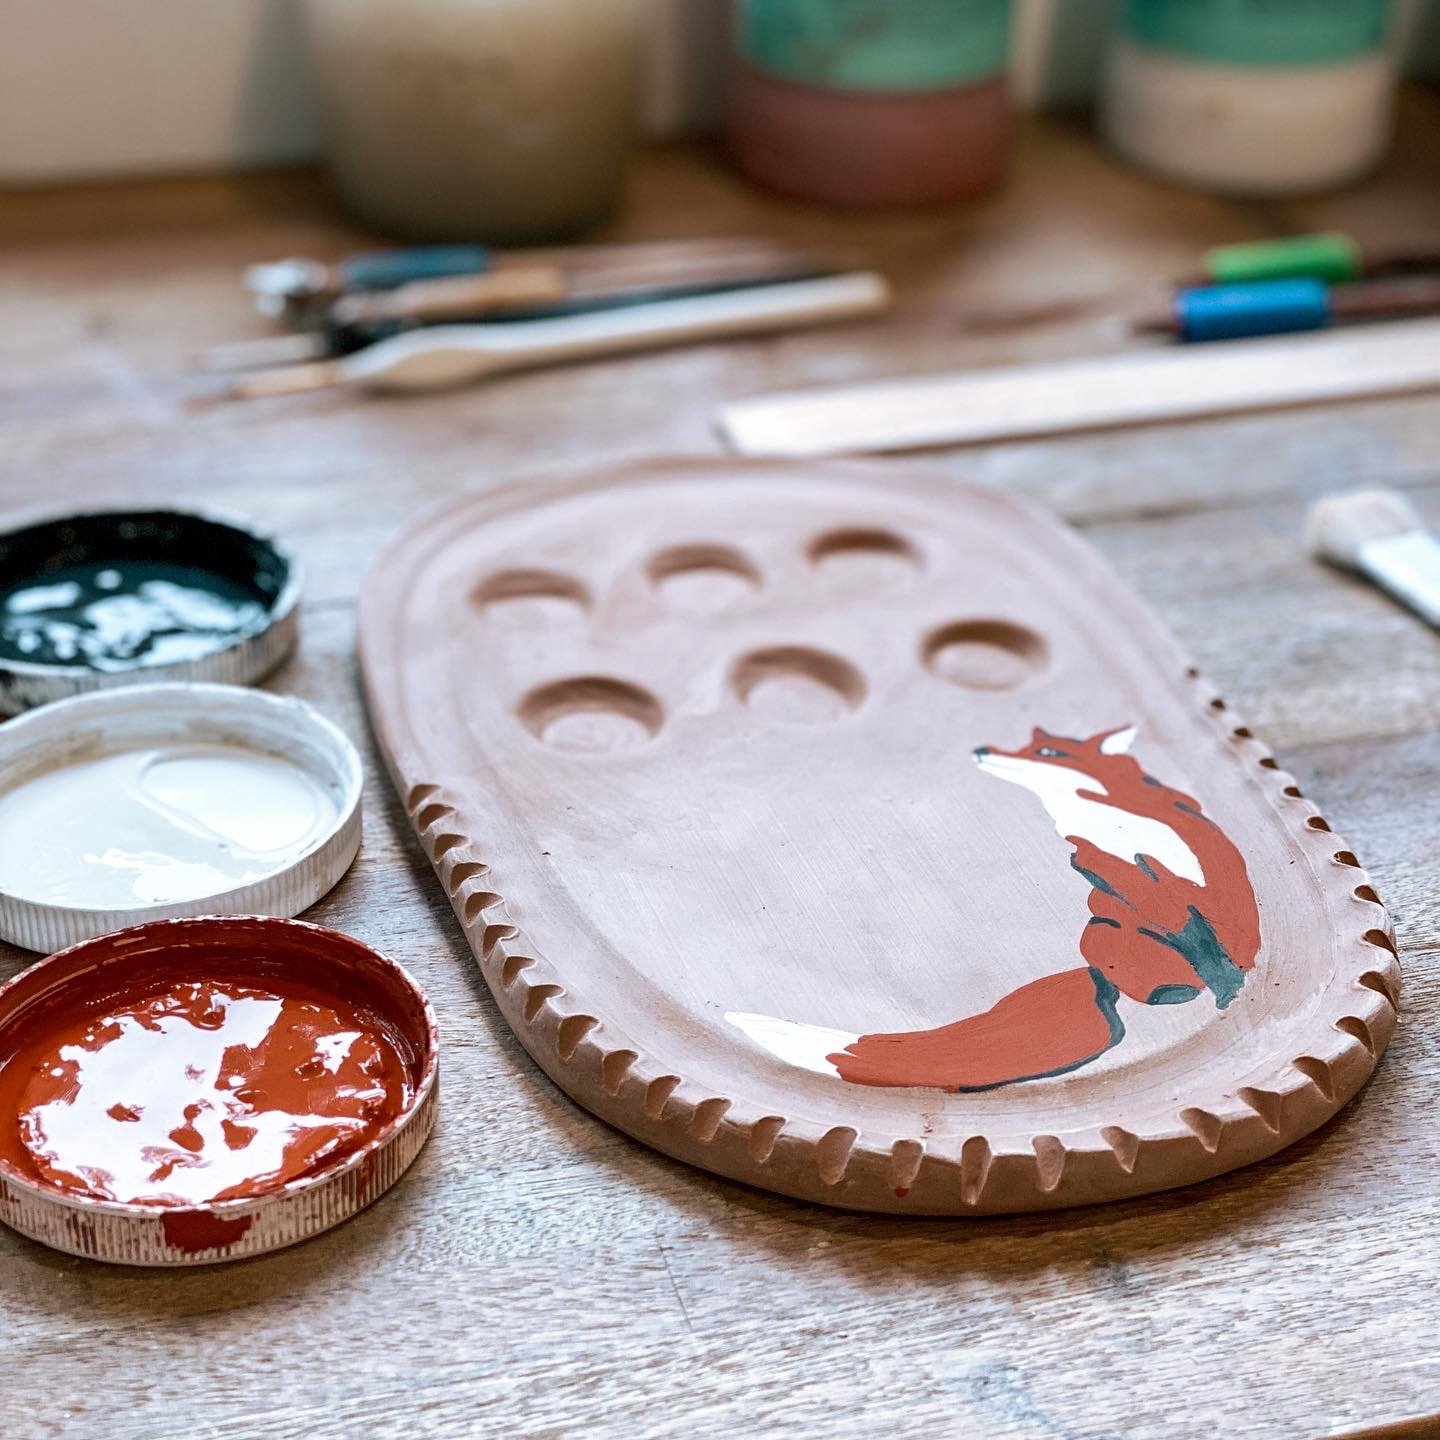
If you are wildly exploring, you may want to consider batch making some test tiles, or small items like pinch pots or spoons to try out your ideas. I am historically terrible at this, but have learned a lot whenever I have made the effort.
Still want the cheat sheet for my results?
Sorry, It doesn't work that way! Even if I did give you my answers, it would be unlikely to work for you. I live in Australia, so I have different clays to many of you. I have a kiln which would fire differently, glazes which respond differently and many other variables which I have tweaked along the way to land me with the unique finishes that I create. And to be honest, I like it that way.
When I produced the online courses, it was never with the intention of people to remake what I do. It was to give students the techniques, and to encourage creativity, play and unique clay stories that only you can tell. These courses share many (many, many) of my tips and techniques which you can adopt and use with your own materials and your own style.
There will be mistakes, there will be failures…but every ceramicist worth their salt knows that this is a vital part of the journey.

Further Learning
If you would like to take a big shortcut and go straight to winning with Sgraffito, first check out my course ‘Creative Clay & Introducing Sgraffito’ as this will save you from a lot of the technique-based mistakes, and allow for freedom of play with your designs. I also have a whole module to explore the value of Creative Play within this course.
If you are just beginning with Ceramics, 2 other blogs How to Start Making Ceramics at Home and How to work Safely with Clay might be helpful for you to read while you are here.
If you would like to get to the heart of WHY Creative Play matters and HOW to do it, I have put together this comprehensive blog post; Failure & Creativity: Why Making ‘Bad Art’ Leads to Innovation and Originality
My online course ‘Creative Clay ~ Hand Building Beautiful Serve Ware’ is an excellent resource if you would like to learn some simple and approachable ways to build beautiful ceramics with your hands, and have a lot of the foundations covered in one place.
I hope this helps to lend you courage to play in a meaningful way with your clays, glazes, decorating techniques or designs.
Warmly,
Jolene
River Ceramics