
How to start making Ceramics at home
When you have an interest in starting a new hobby, the last thing you need is to feel intimidated or face expensive set-up costs.
This post is for people who are beginners to pottery, and would like a warm invitation to try out clay for themselves. I will cover how you can begin with a low-cost outlay, how to overcome common hurdles, what you need as an essential tool kit, plus a glossary of ceramic terms.
A Quick Run down on working with Clay
Clay is an amazing natural resource, and in its most simple form, can be scooped from a river bank and pressed into something fun, interesting or beautiful. Ceramics, or Pottery as a craft, is really only adding a series of refinements to that process.
If you would like a reference of common terms and processes with ceramics, I have compiled a helpful list at the bottom of this article.
Creative Hurdles
If you feel inspired by ceramicists you admire, though worry about having no clue at where to begin, my biggest 2 pieces of advice are to;
Start moving clay in your hands
and
Keep it simple.
I am a big believer that when we start ‘doing’ our muscles, our hands, our mind are learning. You might feel as though you have made little progress, but every amount of time you spend moving clay and just PLAYING, you are learning.
If your hurdles to starting ceramics begin even earlier than that, and space, inspiration, or time are issues, I would love to invite you to read the free (and probably most heartfelt) document that I have compiled for those who sign up to my course page.
‘7 Steps to Creativity’ lists the most effective, specific ways that I found to elevate my creative practice, build great habits and manage to fit ceramics into the work/family/life juggle.
How to begin
In my view, it is best to start your set up with the most simple, low cost options, and build up from there as you hone in your preferred interests, working methods and needs.
Many items can be improvised, and many can be purchased from your local craft store, pottery store or online. I have a list of what I consider essential supplies in this article.
Please ensure you are aware of safety issues around working with clay. You can read my guide for Working Safely with Clay here.
If you have the opportunity to join a Pottery club or series of classes, this can be an excellent way to have fun, ask a million questions and have your work fired for you.
If you like to have a rich resource of how to Hand Build with clay to have at home, my online course ‘Creative Clay ~ Hand Building Beautiful Serveware’ is a perfect beginner’s course that you can rewatch as much as you like. This is a great way to build on skills through 5 guided projects, adding a little new information with each step.
Why I suggest starting Ceramics with Hand Building instead of Wheel Throwing
If you are looking for the most simple start, I strongly suggest hand building to begin with.
Wheel throwing is brilliant fun, though it is a much slower learning curve, and takes a lot of hours practising to master. I once had a student in a Hand Building workshop ask why I don't run wheel-throwing classes, and I responded “Because I like seeing people happy!”
Some other reasons are;
Set up is a lot more involved with wheel throwing, It's messier and requires more space. When hand building you can sit at the kitchen table, or take it on a picnic if you like!
Cost is lower with hand building. Even if you are doing facilitated classes in wheel throwing, you can really only get so far without your own wheel to practise on regularly. As you will see later in this article, the essentials you need to start hand building are very simple.
Skills for hand building are always going to help any direction you end up choosing to specialise in with ceramics. Whether you are adding handles, sculpting, or manipulating forms, these foundations are timeless.
Easy Hand Building Projects
To begin building with clay, some great foundation techniques to start with are;
Pinch Pots
A fantastic and versatile technique where you can simply begin with a sphere and pinch a bowl into shape. The size and shape of the bowl will depend on the clay you start with, the shape of your hands and your style.
Small Sculptures
Have a go at pinching your clay into little animals or other shapes. All time playing with clay is learning, and these can be really fun.
Coiling
To make larger shapes you might like to try making ‘sausages’ with the clay, and coiling them into bigger shapes.
Burnishing
If you do not yet have access to a kiln, burnishing is a brilliant way to finish unfired clay. Simply find a smooth stone and rub against your clay body once it is leather hard. Soon a smooth mirror-like surface will appear, and become more silky as you continue. These pieces dry so beautifully and can be kept for a very long time as keepsakes if they don’t get wet and are treated with care.

Naturally these few sentences are just skimming the very surface of technique, but if it can get you started, then that is better than nothing at all!
If you were to do only one of my courses as an absolute beginner, please consider the Creative Clay ~ Hand Building Beautiful Serveware, as this offers 5 guided projects taking you through a growing list of fundamental skills.
Essential Tool Set
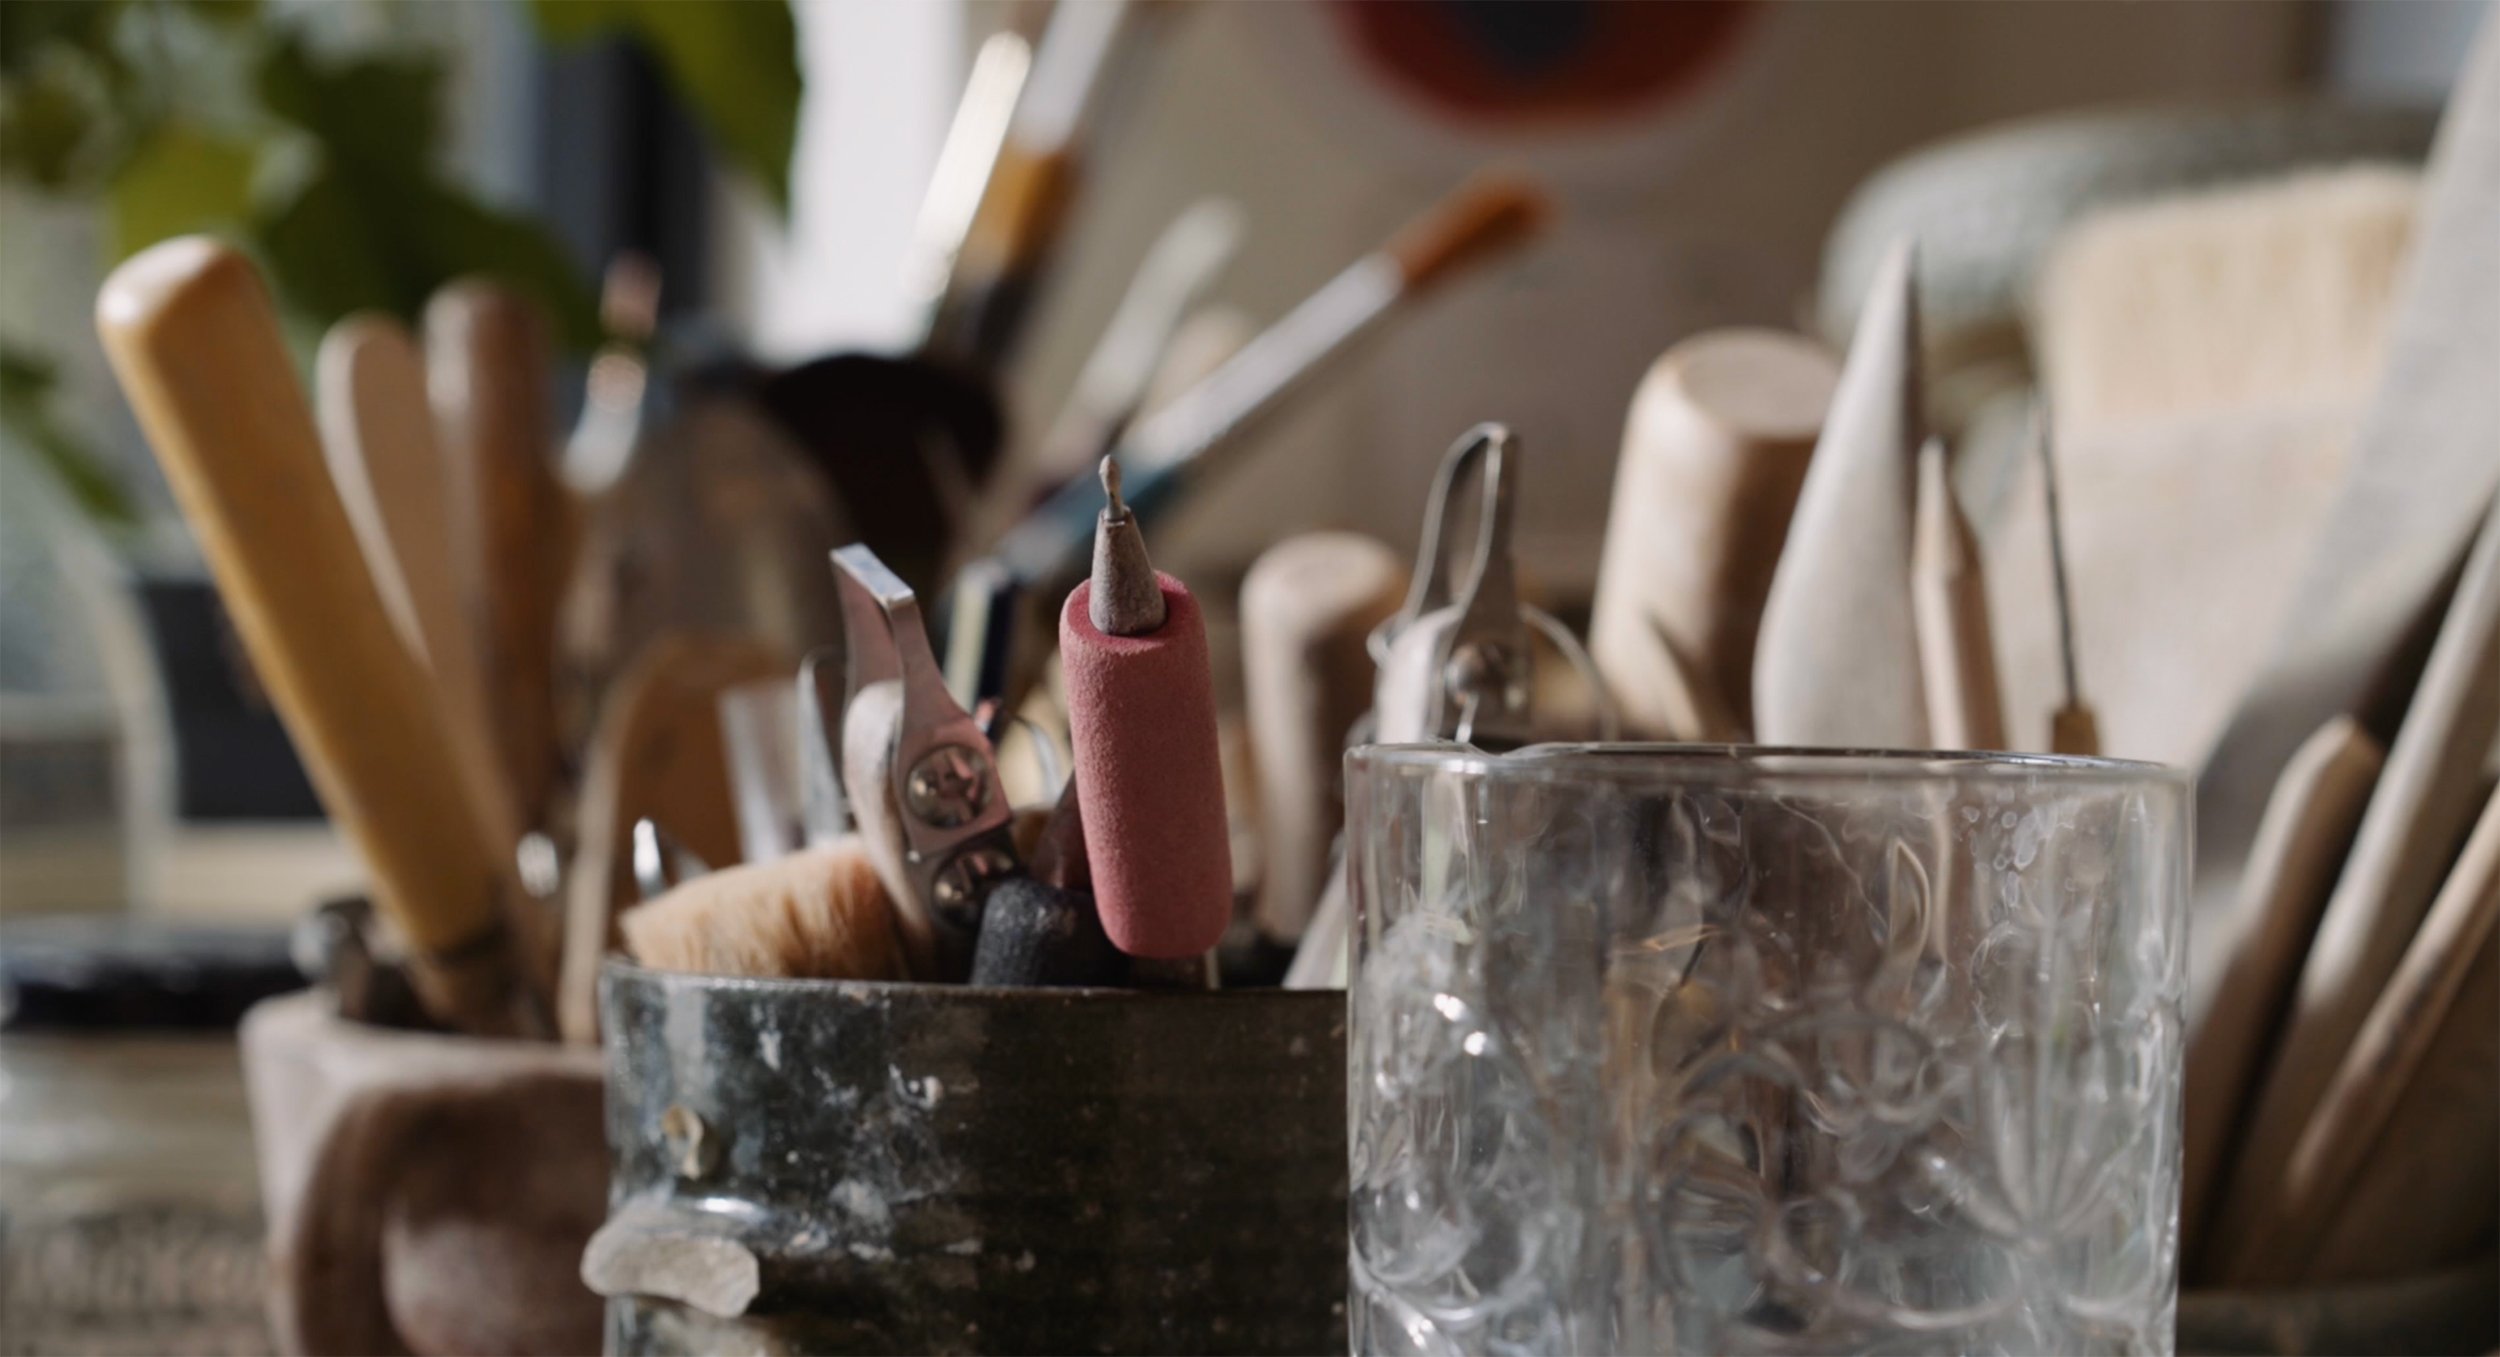
Having a low cost tool set to begin with takes the pressure off this new craft working for you. If it doesn't work out as you had hoped, this Essential Tool Kit will not have to be something you regretted spending much money on.
It is also worth noting that each element of ceramics has some learning & experience to develop, so starting simple can ease the overwhelm and free you up to focus on the fundamentals first.
Clay
I recommend a specific Hand Building Clay to make life easy. Check which firing range is suitable with whoever you plan to fire with.
Buckets
Repurpose strong old lidded buckets from honey, olives or similar. These are great for water tubs, reclaimed clay, slips and storage
Sponges
You'll come to love your sponges! Tearing unneeded upholstery or repurposing a car cleaning sponge to have various shapes and sizes is great.
Towels
I cut up old towels into various sizes for many things in the studio.
FCS (Fibre Cement Sheet)
If you can get some offcuts from a builder or the hardware, these are so helpful as boards for wedging, working on and drying. Not strictly essential though.
Rolling Pin
Grab one or 2 from the thrift shop, these are great to have handy.
Flat Wooden Spatula
Such a great tool for shaping and smoothing your clay bodies. Again, solid old ones from a thrift store are my favourite.
A small set of shaping tools
These are really inexpensive and can be purchased from most craft stores. Having a few different profiles is helpful for many tasks.
Soft Plastic
Your friend in the studio for managing moisture level.
Glaze
You can still make ceramics without it, though a very useful product to use.
Kiln
I don't recommend buying one if you are just starting, but you will need to access one to see your work complete.
Make Mistakes!
If you can cultivate the mindset at the beginning that mistakes are inevitable, you can liberate yourself to go forth and be creative. There is a lifetime of learning in ceramics, so to nudge those boundaries, we need to be making mistakes to learn.
I suggest reflecting on things you don't like and set the task to address one element at a time…or consider looking at the issue in a new way.
Have Fun with Beginner's mind
On reflection, my favourite part of ceramics so far was when I barely knew a thing. The wonder, the excitement and the big energy was intoxicating! I remember looking at one of my teachers who was 25 years into the craft and appearing weary to think, “I am the lucky one here”
Knowing that being a beginner was my favourite stage has kept me exploring, trying new things and staying excited.
Common clay terms and processes
Reclaimed Clay
Scraps of clay or pieces you no longer want that you can reclaim to be usable again
Firing Range
Clay Typically comes in one of three firing ranges;
Earthenware (low fire)
Mid Fire
Stoneware (high fire)
You need to ensure that you are firing to your clay’s temperature, and that your glazes match that firing range.
Firing
Firing is the process where clay is subject to high temperatures. There are typically 2 stages to this
Bisque Firing where clay is taken to around 1000deg and is not fully vitrified, though it is brittle. Glaze is generally applied after bisque firing.
Glaze Firing where the pieces are taken to the top temperature of that clay type to allow for the vitrification process (turning it to ceramic)
There are other variations and firing methods, though this is the most common in my experience.
Clay Moisture
A vital skill to master in ceramics. As my first ever teacher said; “moisture is everything!” Understanding how wet/dry your clay needs to be for each stage and being able to manipulate that is a key to successful projects. Here are the terms to start with;
Greenware - Unfired clay
Leather Hard - When clay still has moisture but no longer has flexibility
Bone Dry - When clay has no moisture left but is still unfired
Wedging
The process of ‘kneading’ clay to remove air bubbles and make workable
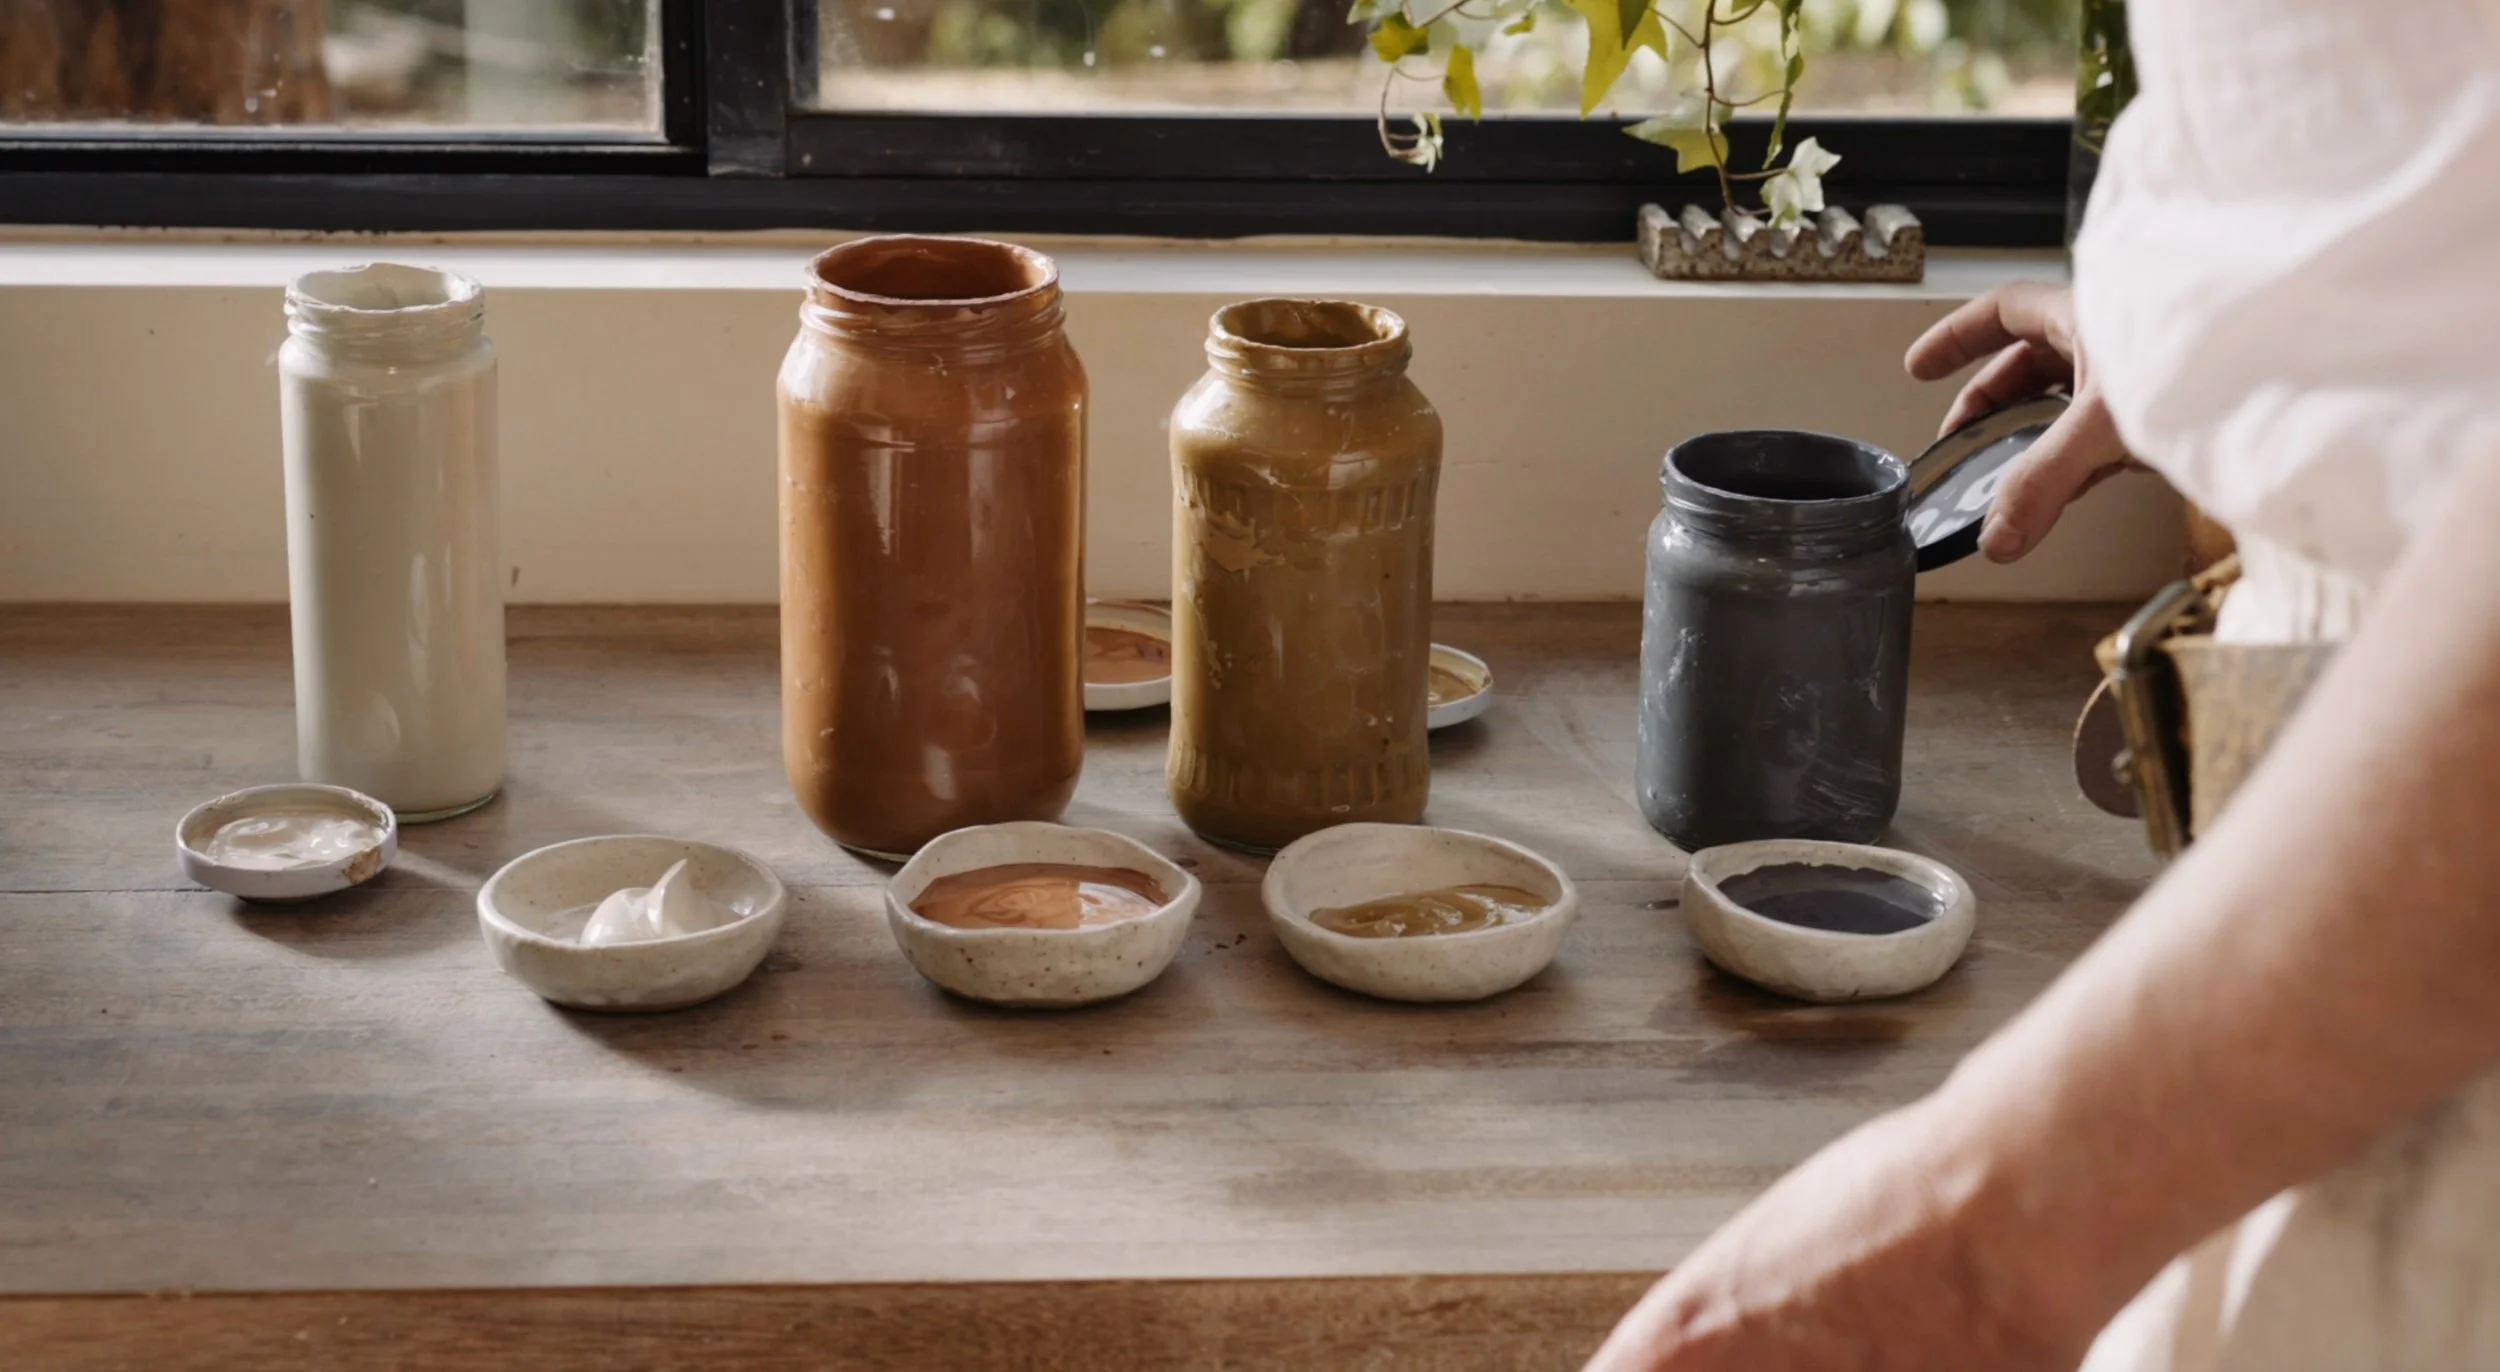
Underglaze
A medium applied to clay at greenware or bisque stage for decorating
Sgraffito
My specialty and favourite decorating method! This is where you apply a medium like underglaze or clay slip to the surface of your piece, then carve or scratch into that surface to make designs. I have a beginners course available online ‘Creative Clay & Introducing Sgraffito’ if you would like to give this a go.
Clay Slip
A liquid clay which can be used for decorating and various other processes. I use this a lot in my work. I also have an online course on the way I use Clay Slip ‘Natural Clay & Decorating with Slip & Sgraffito’ if you would like to learn more.
For a more comprehensive list of terms you can visit Walker Ceramics for an extended list.

I hope this post helps you to clear away some of the concerns you might have in giving ceramics a go. Clay is a lot more simple than you might think, and if you are anything like me, it will be a firm obsession for you in no time at all!
Please subscribe for more informative posts, freebies and course updates, or head to my Online Course Website to see if the self paced learning option might be for you.
For inspiration you can find regular updates, reels and posts on my Instagram page.
Best of luck for your Clay Experience!
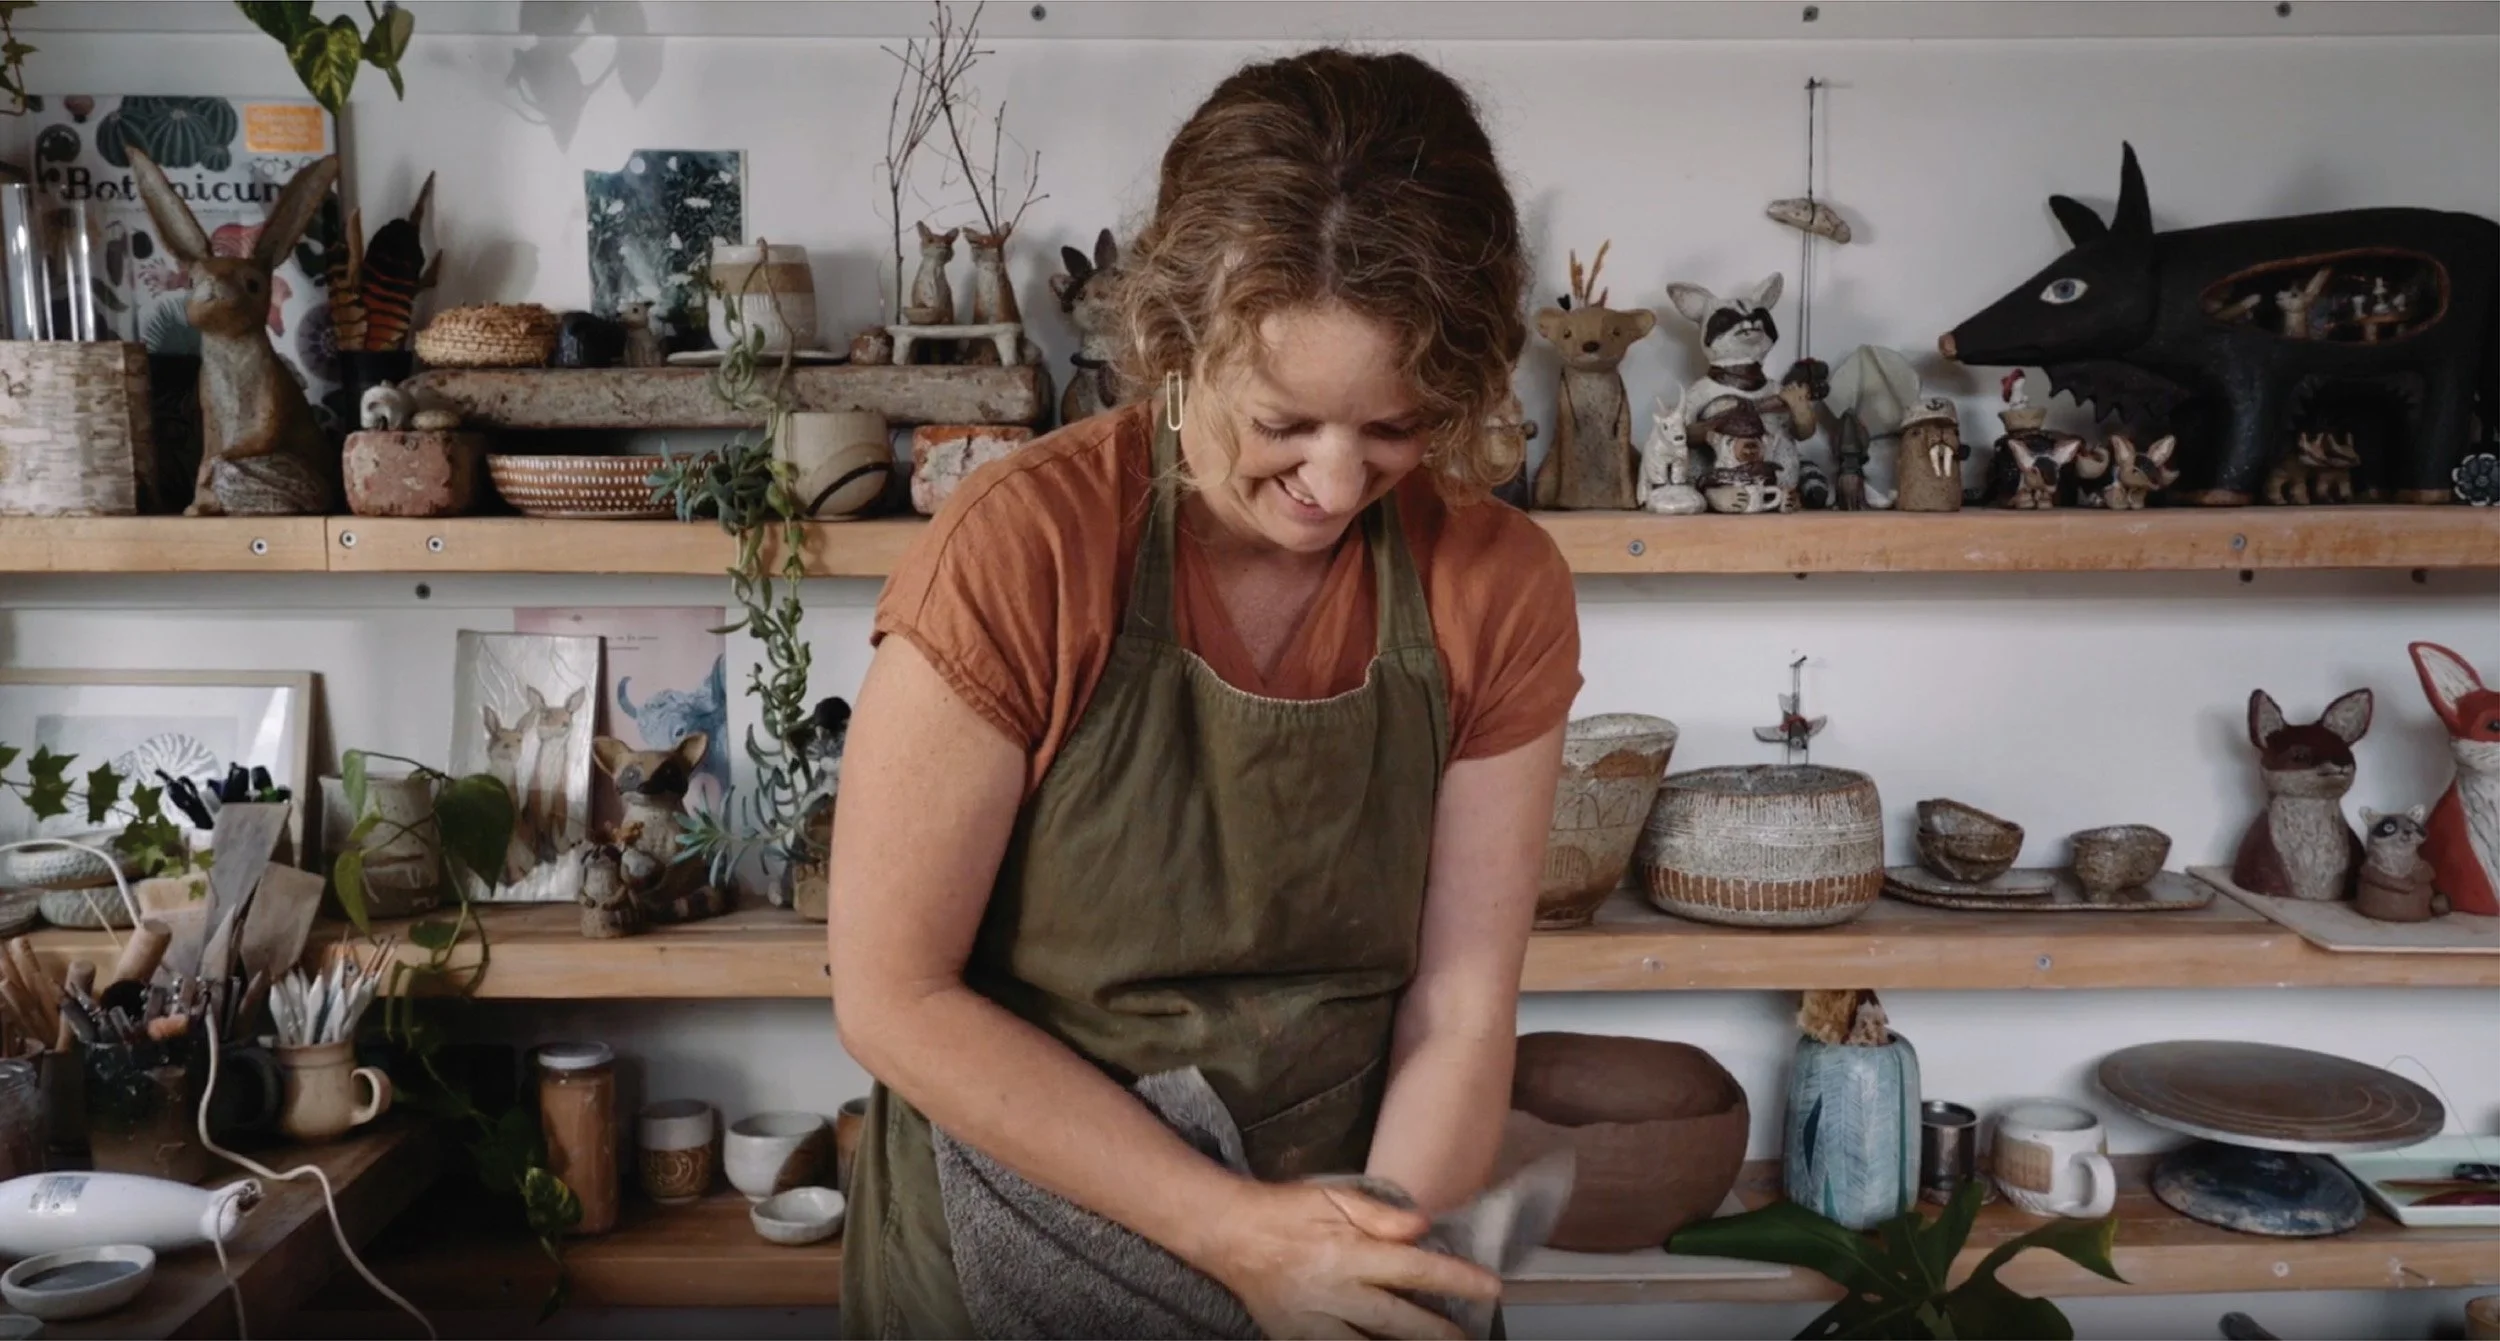
Jolene Hewison
River Ceramics